Date & Time
The Date & Time datasource is always available in Smartsign and can be bound to text fields in any template or layout, regardless of other datasources that are used.
This makes it easy to display clocks, dates, weekdays, or week numbers on your screens without requiring additional configuration.
In a text layer's Data binding settings, select Time as the Datasource. You do not need to create a separate datasource.
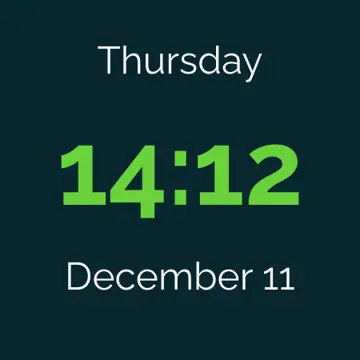
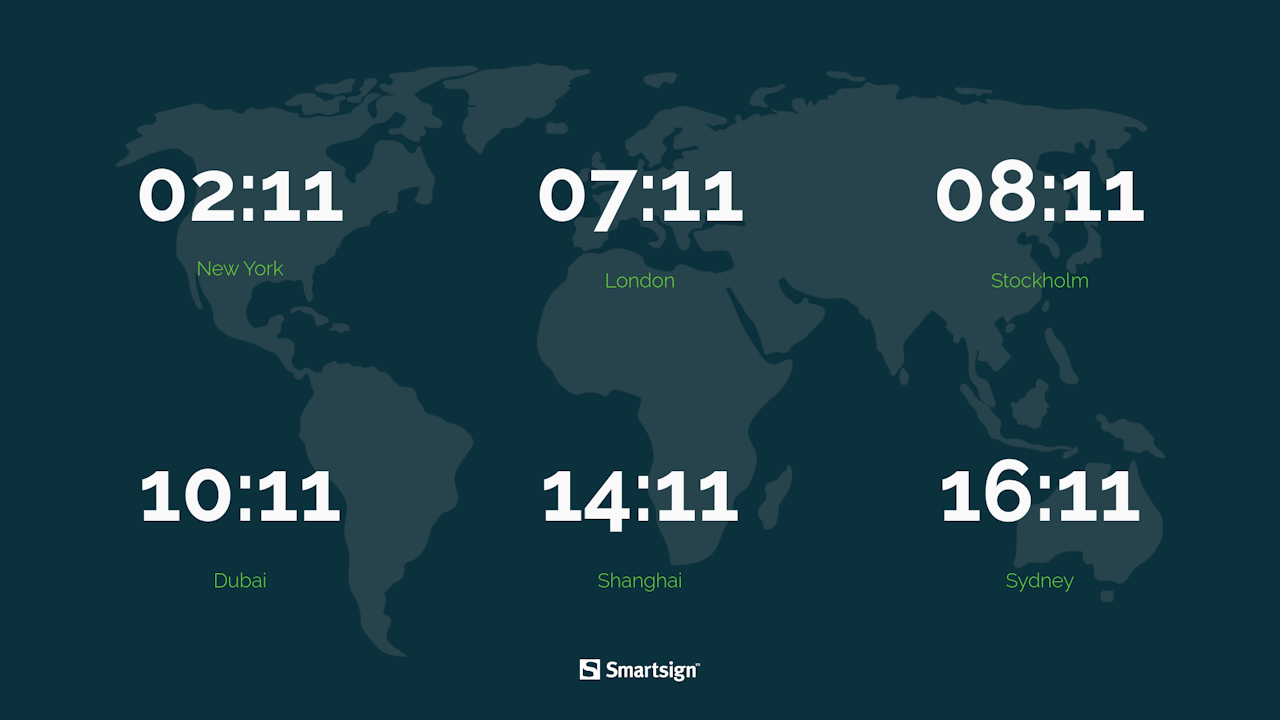
How it works
The Date & Time datasource outputs the current time information based on the format and settings you choose. Smartsign provides four preset values that you can use directly or customize:
- Current time
- Current date
- Current day
- Current week
Each preset can be formatted using a DateTime format string, allowing you to control exactly how the date or time is displayed.
Create date & time template
Date & time elements are included in many templates and screen layouts by default, but you can always create your own if you need a specific design or additional time zones.
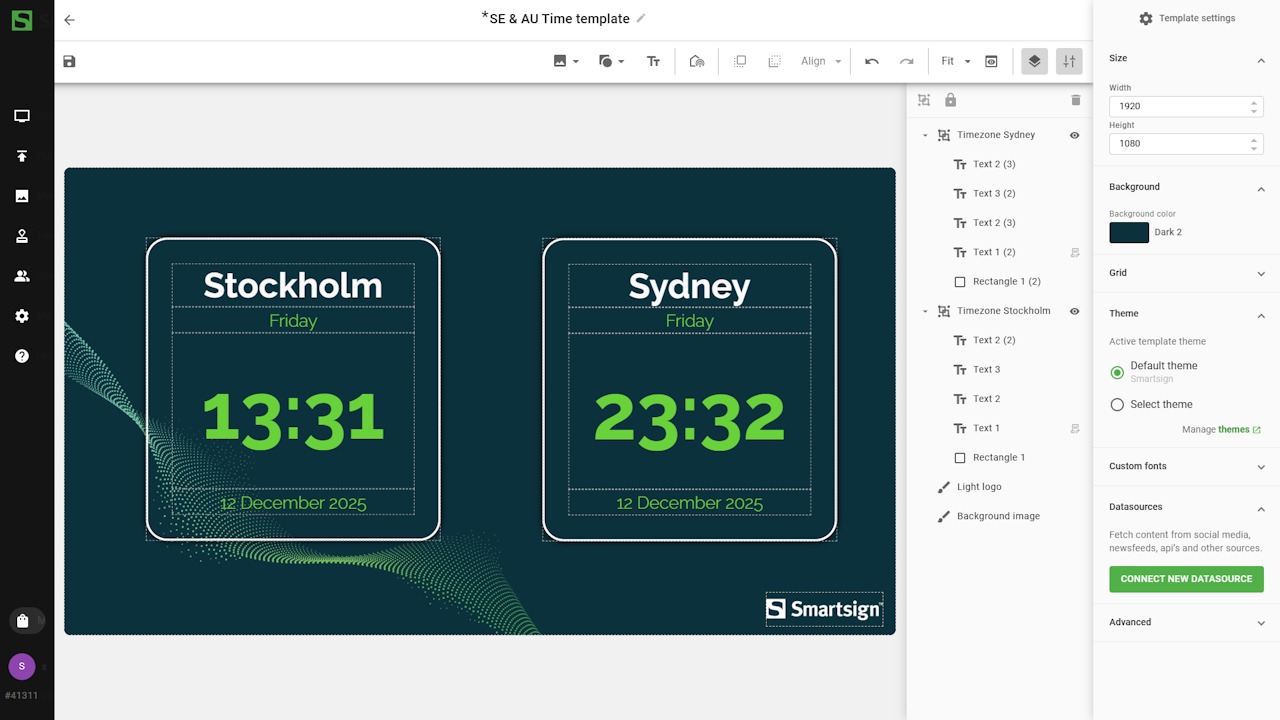
In this example, we will create a template that displays two different time zones.
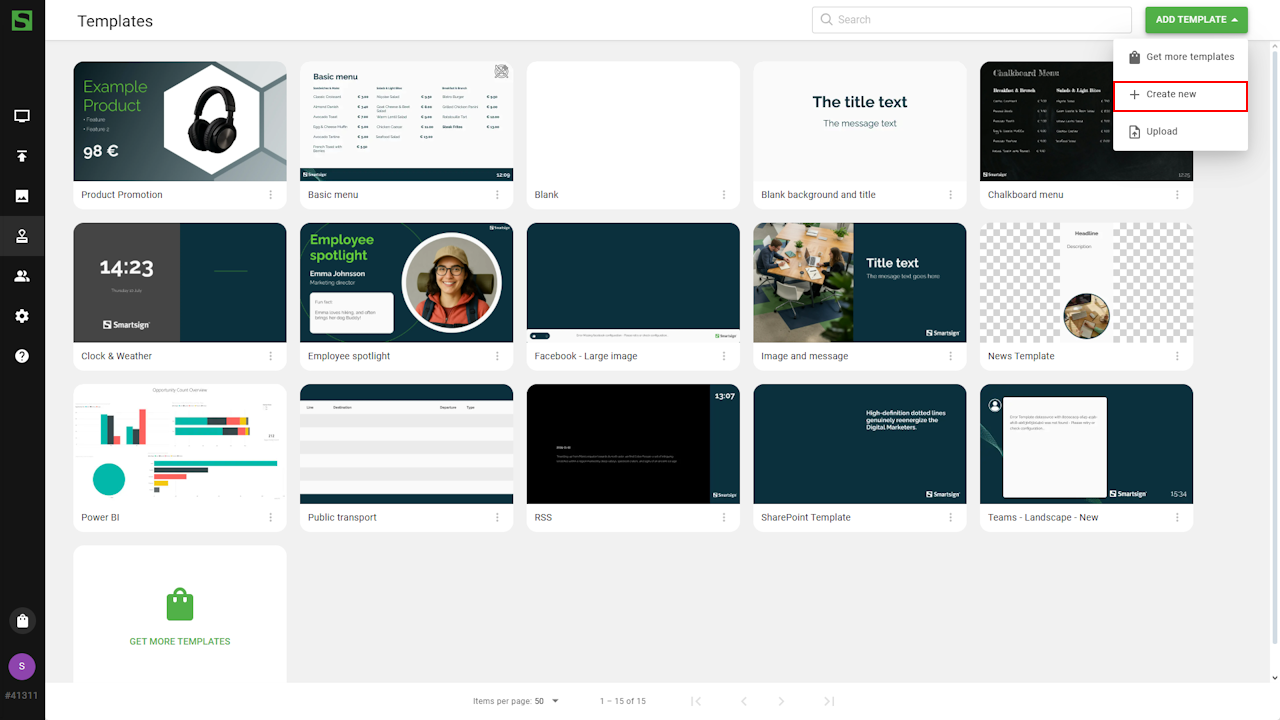
- Go to Templates, open ADD TEMPLATE in the category you want
to use, and select Create new
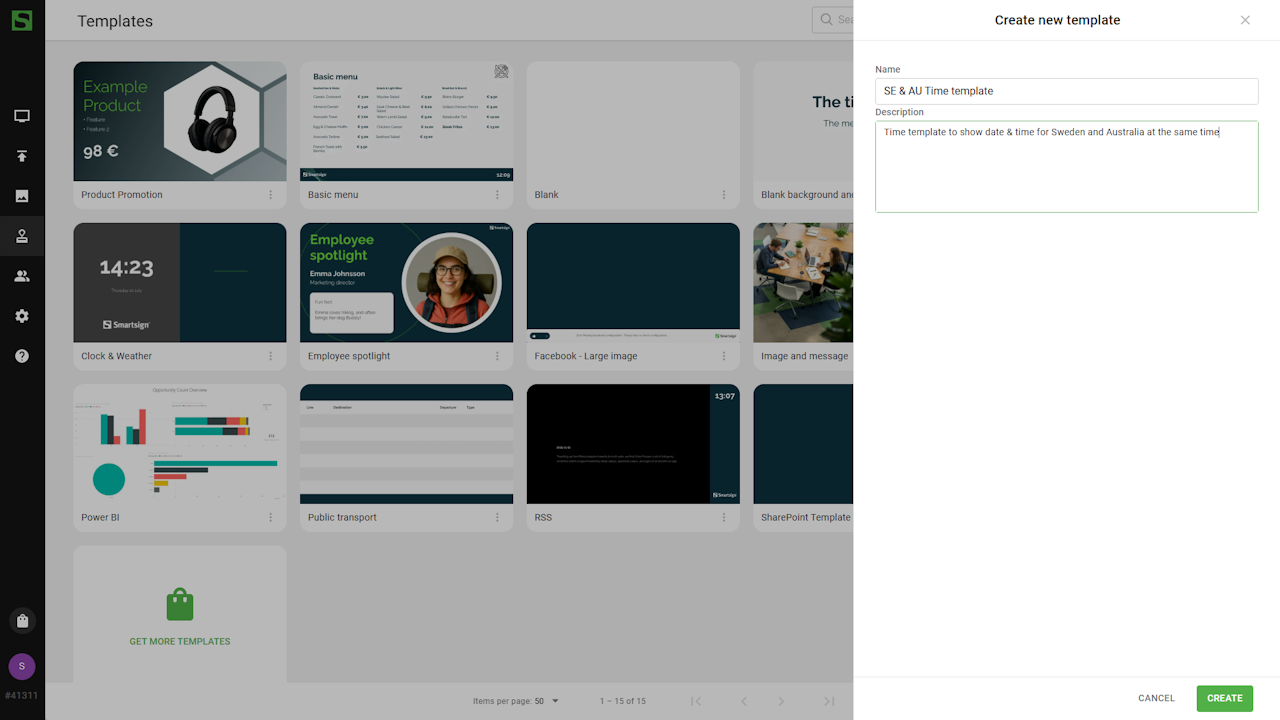
- Enter a name and description, then click Create
- Start by adjusting the template settings such as size and
background color
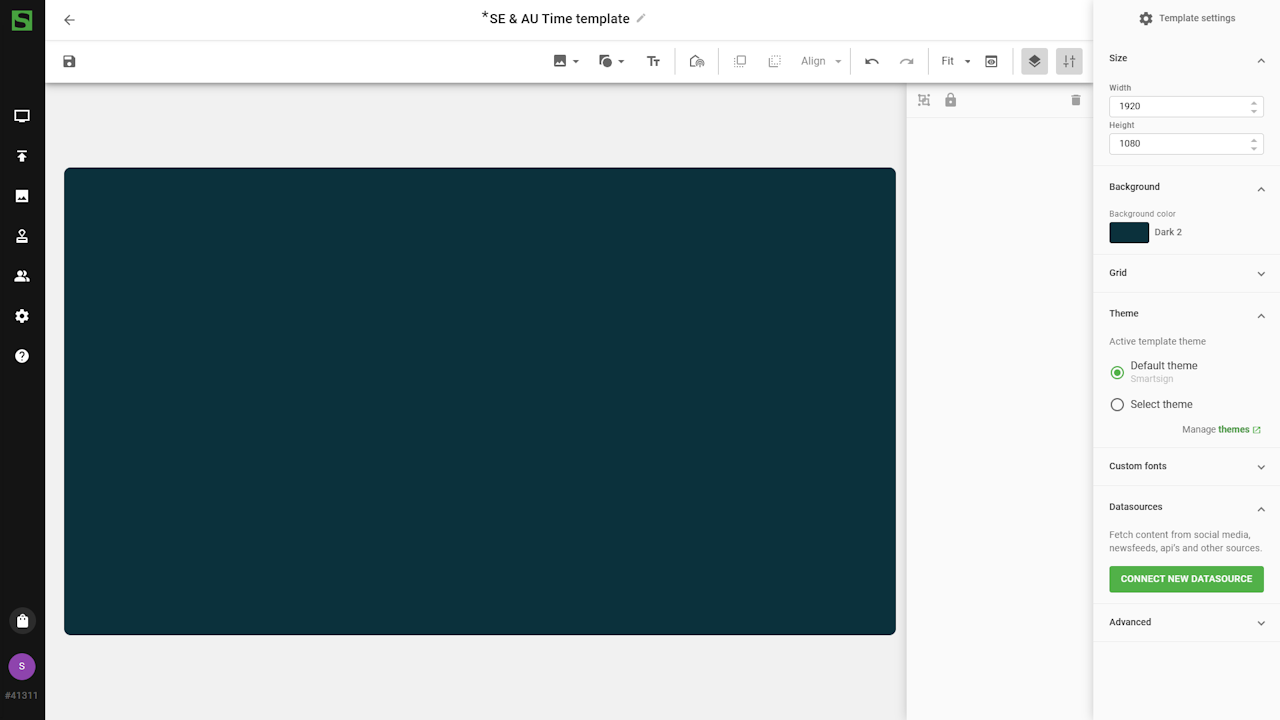
Add elements for the first time zone
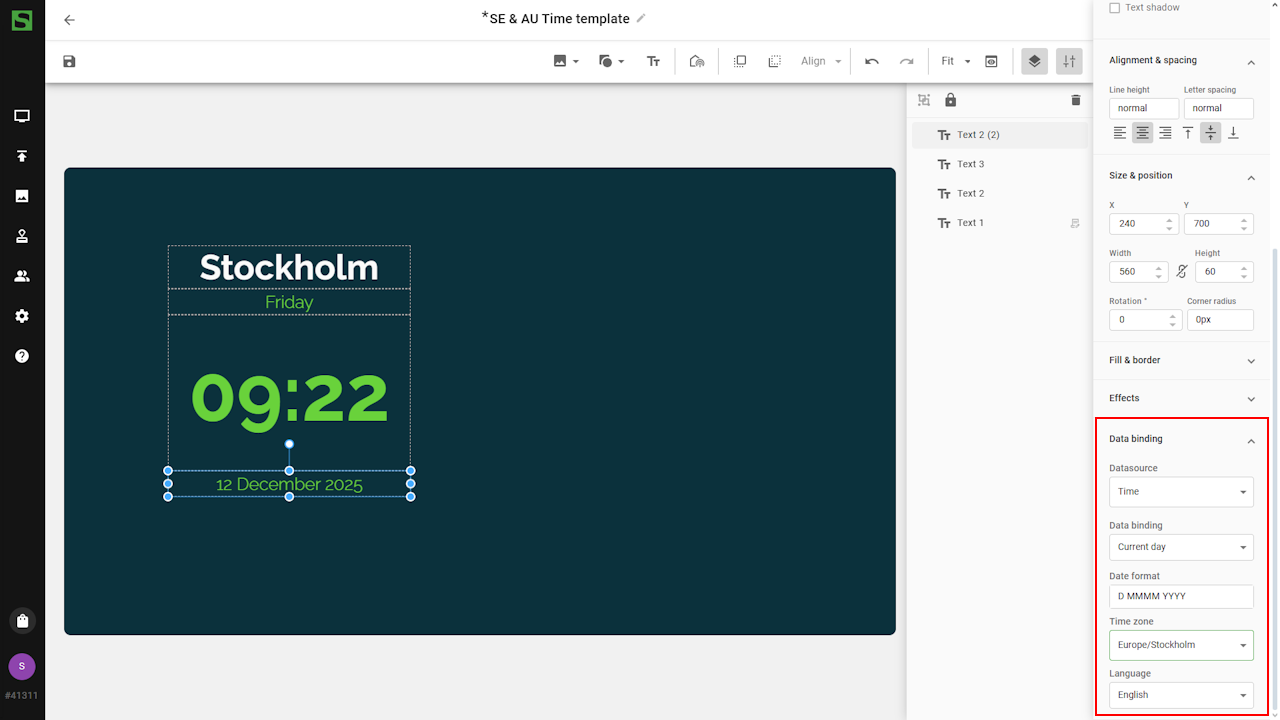
Add the text boxes that will display your Date & Time values:
- Headline
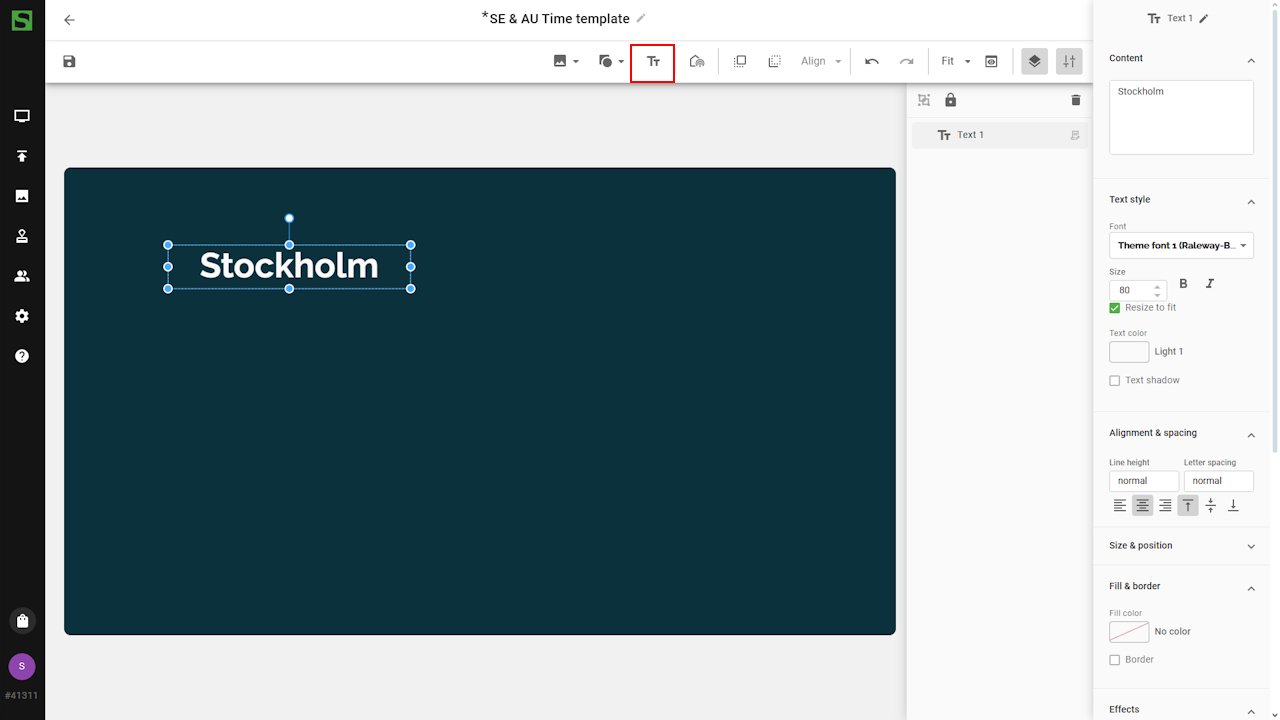
- Current day - Use a preset or apply a custom format using
the token tables
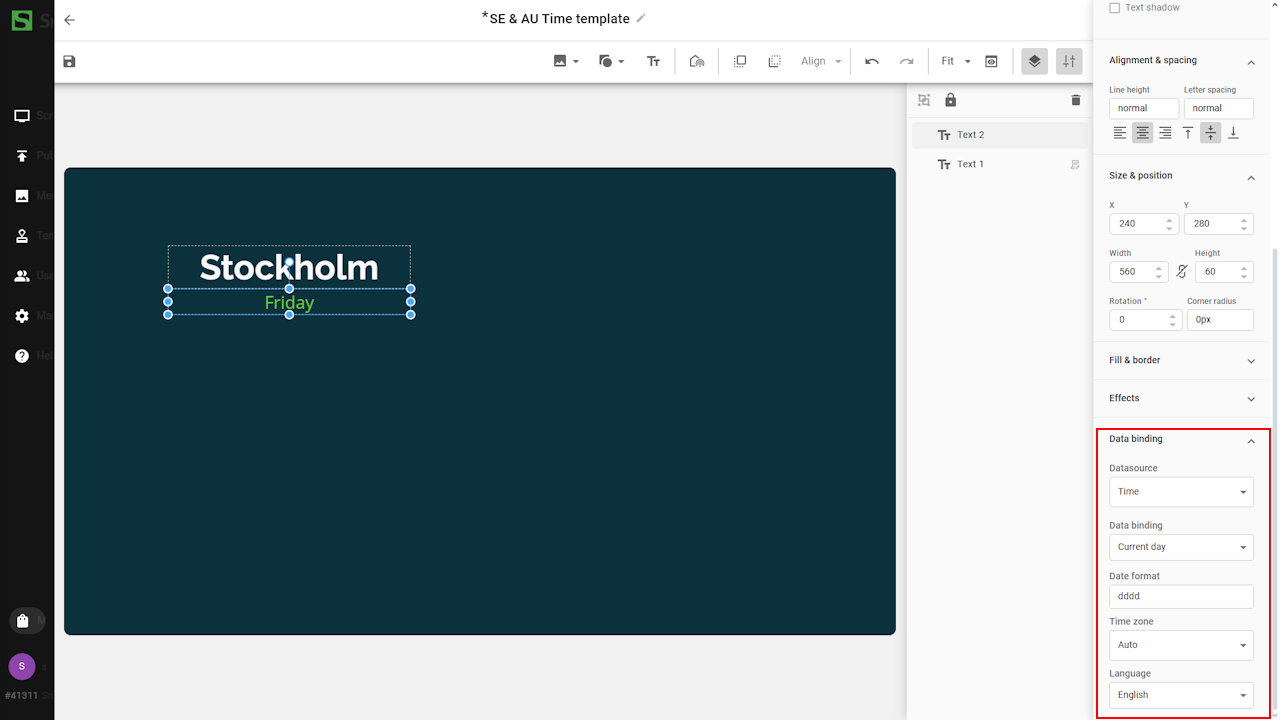
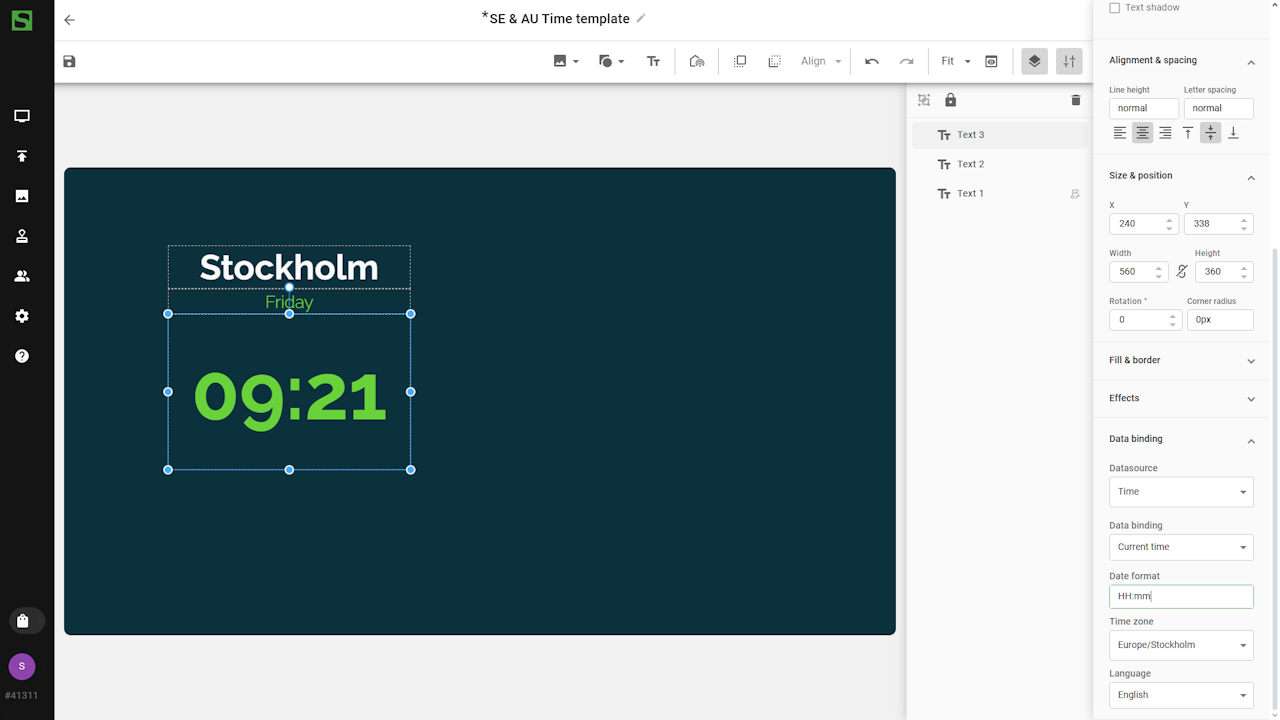
- Current time
- Day, Month, Year - This text box will use a custom DateTime
format string
Add design elements (optional)
You can enhance your design by adding shapes such as boxes or circles.
- Click Add shape to add a design element to the template
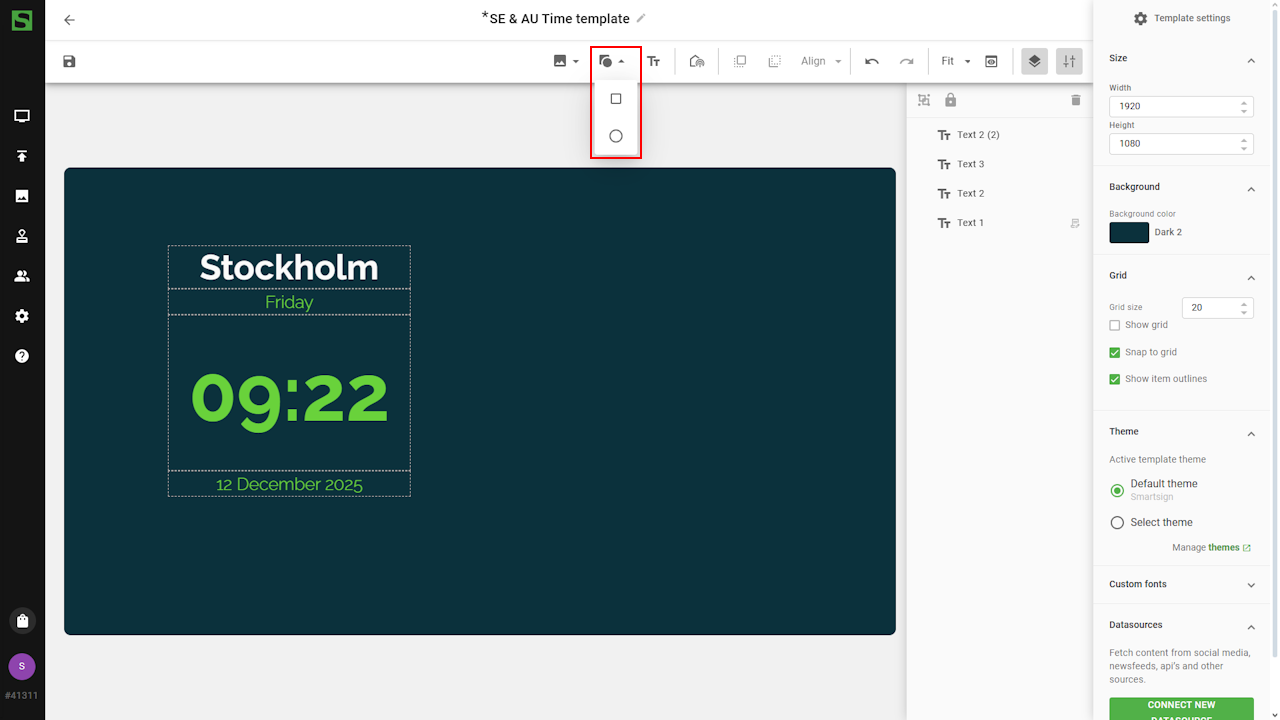
- Position the shape where you want it.
The Layers panel controls which elements appear in front or behind others — items higher in the list appear on top.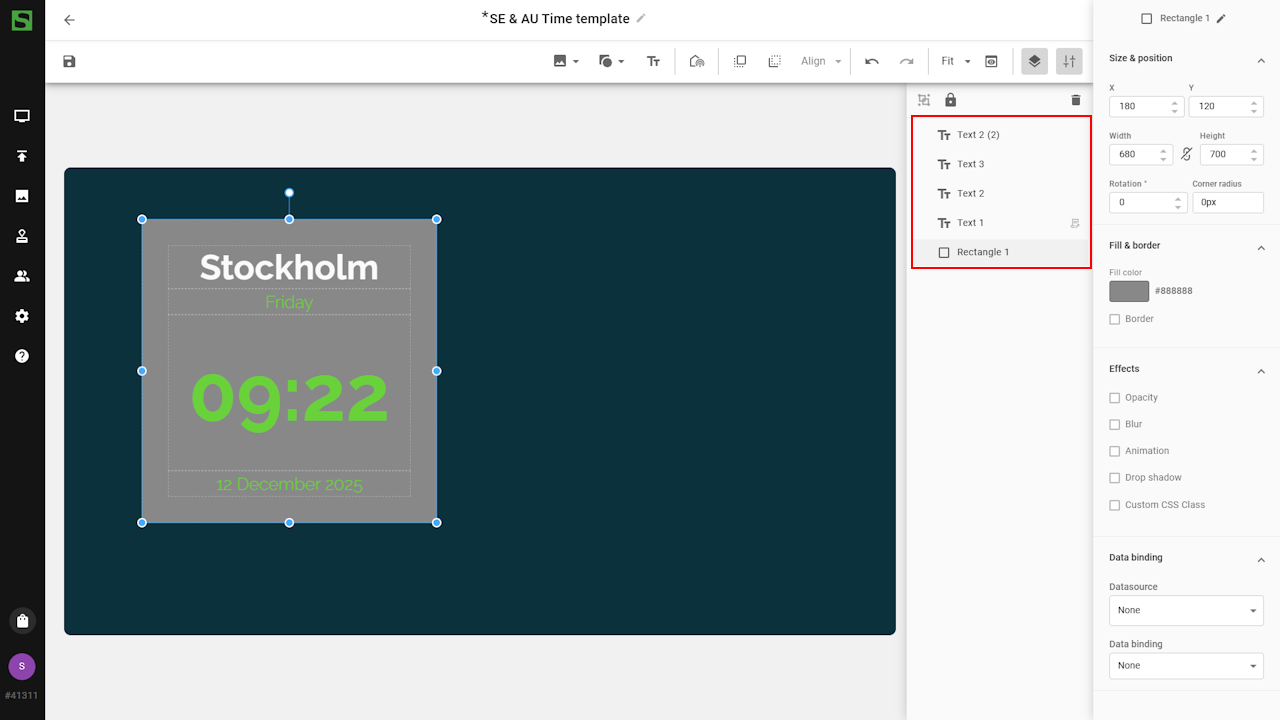
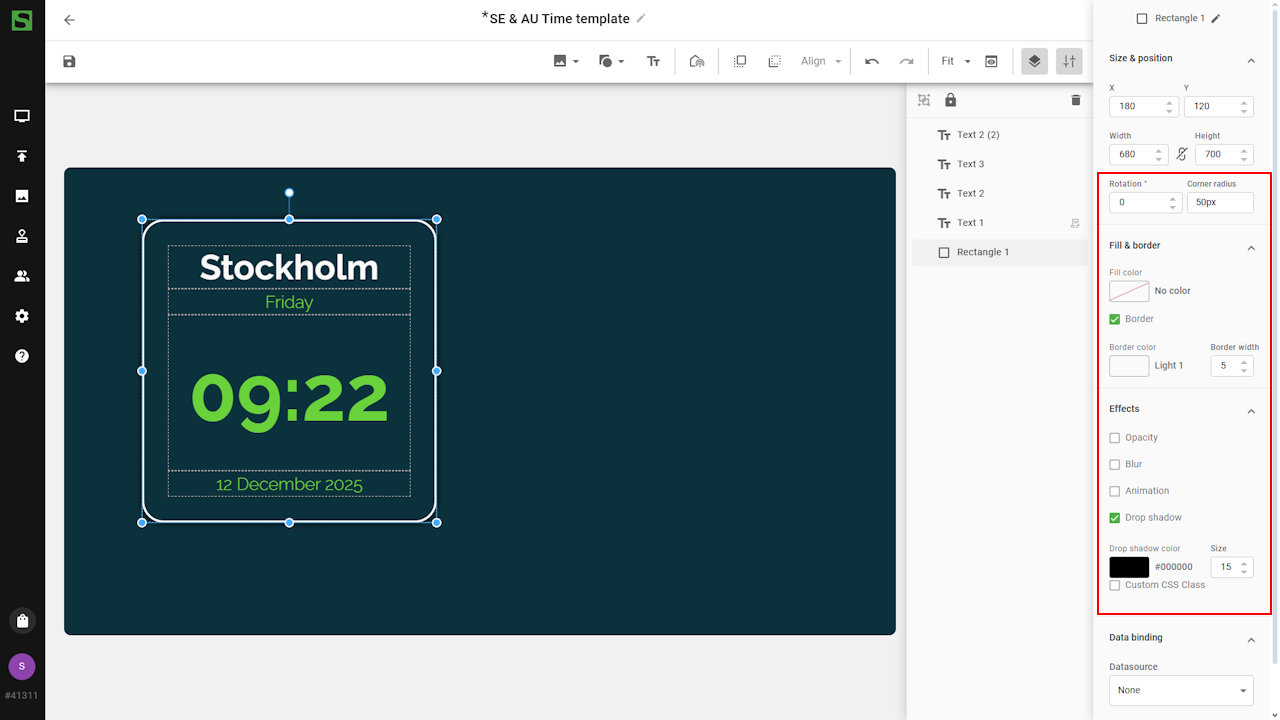
- Adjust the shape using background color, rounded corners, borders,
shadows, or other style options to fit your design
Duplicate the first timezone-group
Once the first time zone layout is complete, you can group the elements and duplicate them to create a second time zone with the same design.
-
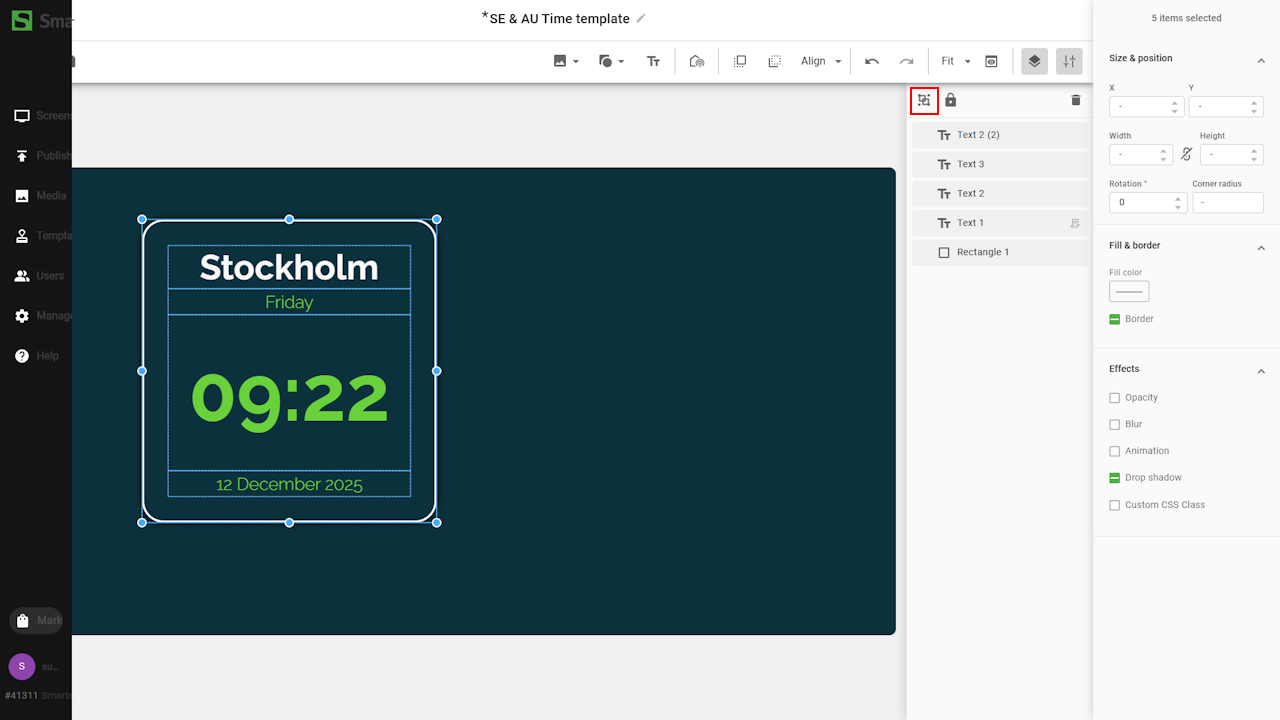
Select all layers in the Layers panel and click Group selected items
-
You can now select the entire group to resize or reposition everything at once.
Renaming the group and its layers can make them easier to identify later.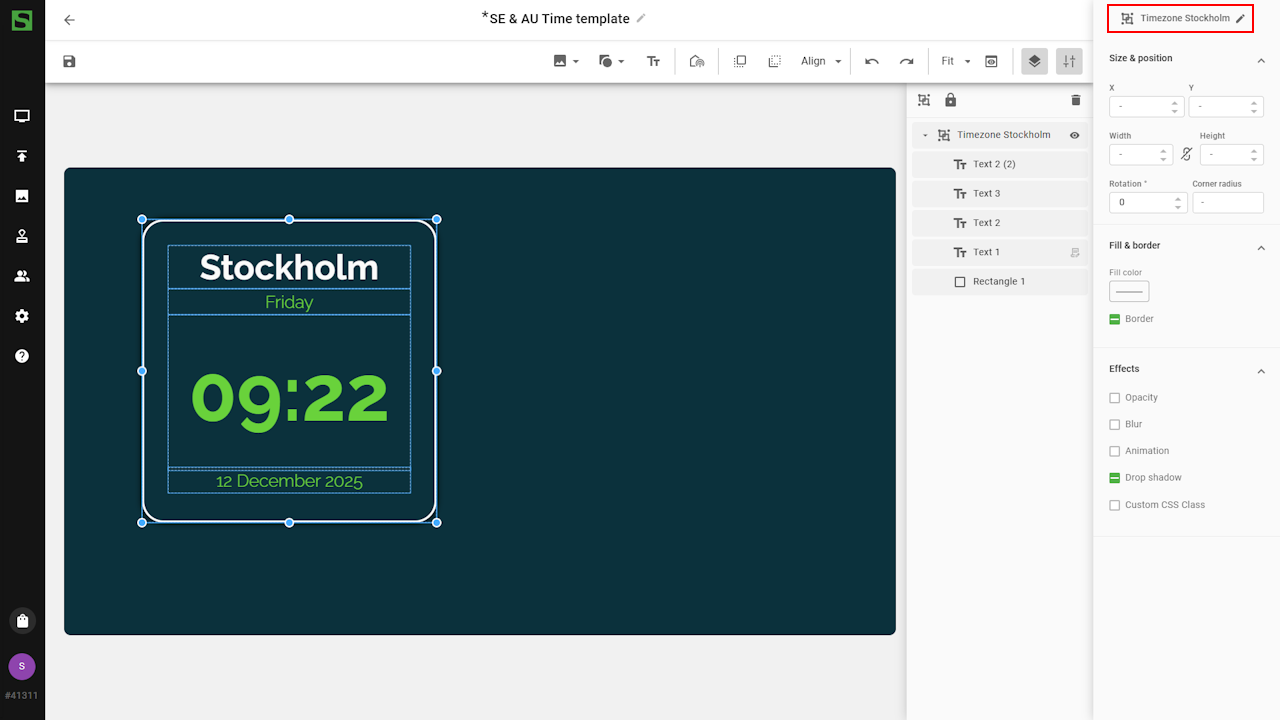
-
Use Copy/Paste on your keyboard to duplicate the group.
This preserves all styles and settings for the new time-zone block.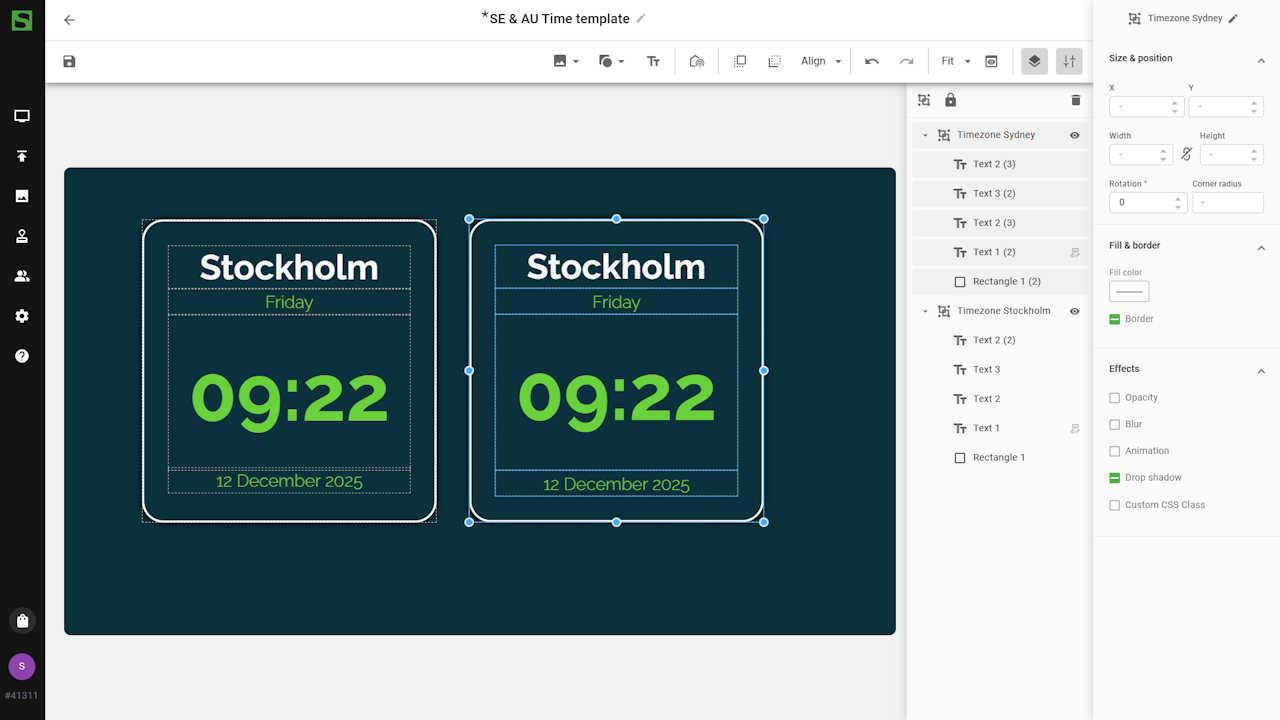
-
tip
Copy/paste can also be used for individual items, which is very useful when multiple elements share the same formatting.
-
-
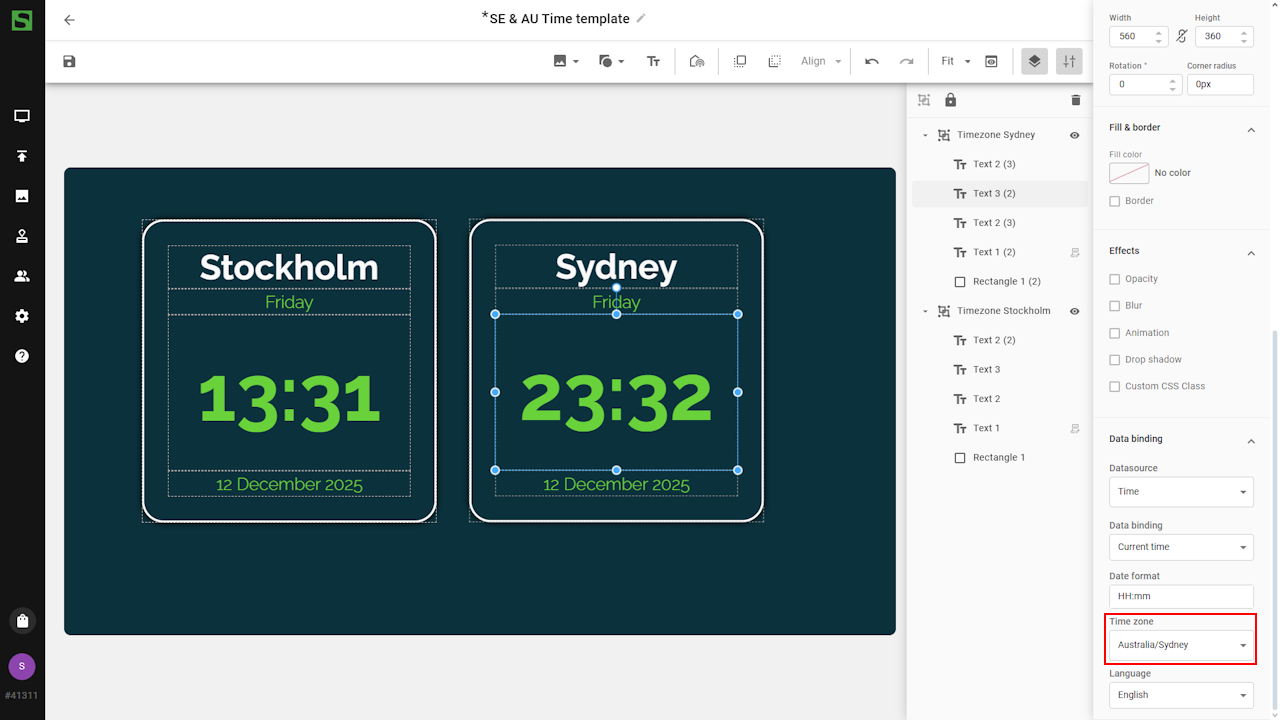
Update the city name in the second group. Set Time zone on each date and time field in its Data binding settings
Final adjustments
Make any additional adjustments to the template, such as alignment,
spacing, background images, or other visual components
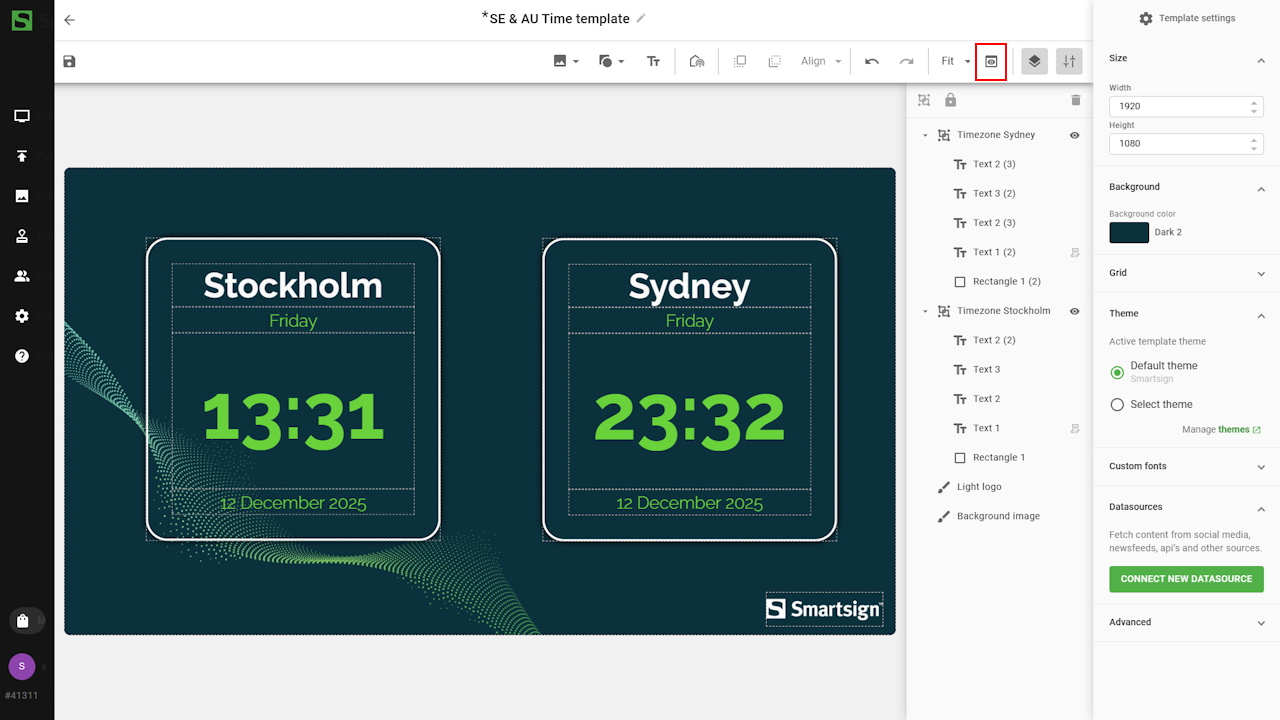
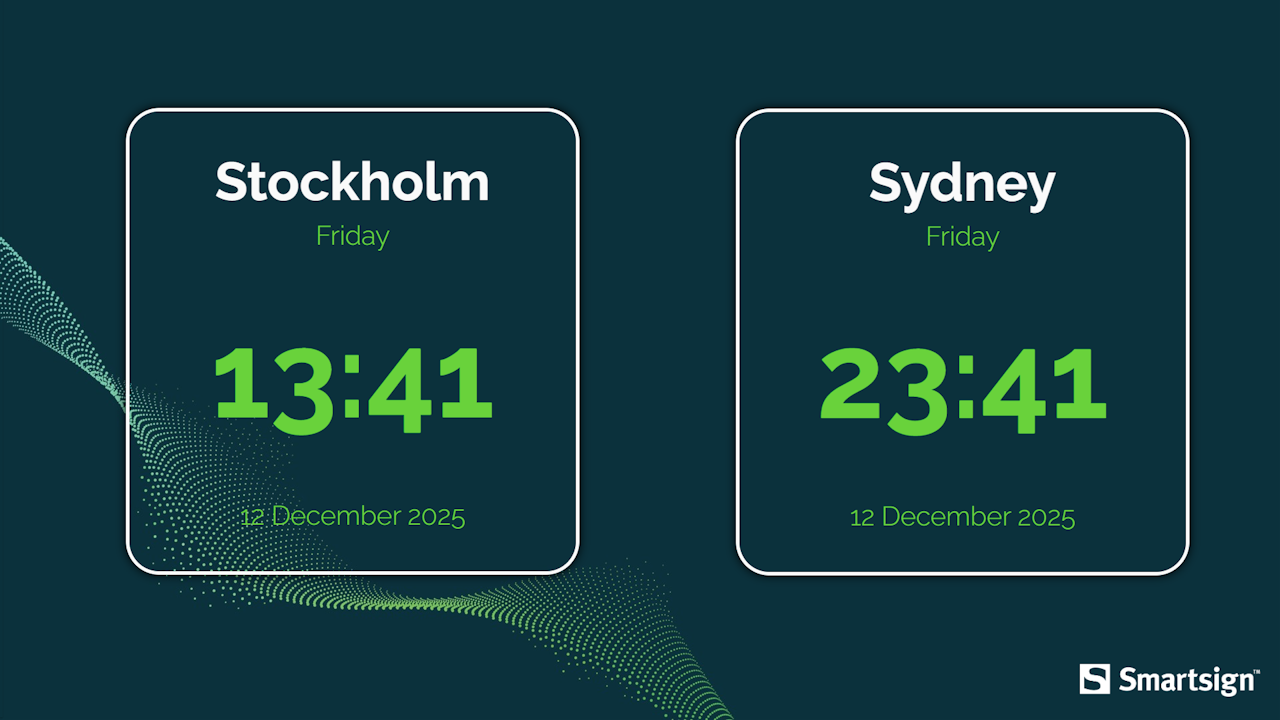
- Use Preview to verify that the correct live data is shown for
both time zones
- Save the template. It is now ready to be published on a screen.
Configuration options
When binding the Date & Time datasource to a text field, the following settings are available:
| Setting | Description | Example |
|---|---|---|
| Date format | Input a "DateTime format string" to control how the date/time is presented | YYYY-MM-DD |
| Time zone | Select the time zone for this field. Auto uses the screen's local time zone, or your browser's local time zone in Preview | Europe/Kiev |
| Language | Select which language to use for the date/time | English |
For an analog clock, add a Circle with Add shape. In its Data binding settings, select Time and Analog clock. Choose the Time zone, Clock Style (Classic or Modern), Numeral style (Normal or Roman), and colors for the clock face, border, hands, numbers, and markers.
DateTime format strings
A DateTime format string defines how the final date or time should
appear.
Format strings use tokens to represent each part of a date, such as
year, month, day, hour, or week number.
Smartsign uses the Moment.js formatting standard and you can find some common examples in the following tables.
For a full list of supported tokens, please refer to the official documentation: https://momentjs.com/docs/#/displaying/format/.
Year
| Token | Output | Result |
|---|---|---|
| YYYY | Full year | 2025 |
| YY | Two-digit year | 25 |
Month
| Token | Output | Result |
|---|---|---|
| MM | Month number (01–12) | 03 |
| M | Month number (1–12) | 3 |
| MMMM | Full month name | March |
| MMM | Short month name | Mar |
Day
| Token | Output | Result |
|---|---|---|
| DD | Day of month (01–31) | 09 |
| D | Day of month (1–31) | 9 |
| dddd | Full weekday name | Monday |
| ddd | Short weekday name | Mon |
| d | Weekday number (0–6, Sunday = 0) | 1 |
Time
| Token | Output | Result |
|---|---|---|
| HH | Hour (00–23) | 03 |
| H | Hour (0–23) | 3 |
| hh | Hour (01–12) | 02 |
| h | Hour (1–12) | 2 |
| mm | Minutes (00–59) | 07 |
| m | Minutes (0–59) | 7 |
| ss | Seconds (00–59) | 05 |
| s | Seconds (0–59) | 5 |
| a | am/pm | pm |
| A | AM/PM | PM |
Week
| Token | Output | Result |
|---|---|---|
| W | ISO week number | 1 |
| WW | ISO week number (two digits) | 01 |
Combined examples
| DateTime format string | Result |
|---|---|
| dddd, MMMM Do | Monday, March 4th |
| HH:mm | 14:37 |
| YYYY-MM-DD HH:mm | 2024-03-04 14:37 |
| MMM DD, YYYY - h:mm A | Mar 04, 2024 - 2:37 PM |
| dddd [week] W | Monday week 11 |